
Tutorial: Your first connectivity scan
What you'll learn
By the end of this tutorial you will have deployed a small demo application, probed it with Kubesonde, and read the resulting connectivity graph. This is a learning-oriented walkthrough — every step is spelled out and safe to run on a throwaway cluster.
Time: ~15 minutes · You need: a test cluster with kubectl, and Kubesonde installed.
Step 1 — Deploy something to probe
We'll use a two-tier app: a frontend that should reach a backend, and a database that should not be reachable from the frontend.
kubectl create namespace shop
kubectl -n shop create deployment web   --image=nginx --port=80
kubectl -n shop create deployment api   --image=nginx --port=80
kubectl -n shop create deployment db    --image=nginx --port=80
kubectl -n shop expose deployment api --port=80
kubectl -n shop expose deployment db  --port=80
Wait for the pods to be ready:
kubectl -n shop rollout status deployment/web
kubectl -n shop rollout status deployment/api
kubectl -n shop rollout status deployment/db
Step 2 — Probe the namespace
Create a Kubesonde resource that probes every pod-to-pod pair in the shop namespace:
# shop-probe.yaml
apiVersion: security.kubesonde.io/v1
kind: Kubesonde
metadata:
  name: shop-scan
spec:
  namespace: shop
probe: allkubectl apply -f shop-probe.yamlStep 3 — Wait for probing to complete
Kubesonde probes continuously; the Complete condition tells you when the recorded probe count has been stable long enough to be worth reading (see completeness).
kubectl wait --for=condition=Complete kubesonde/shop-scan --timeout=300s
kubectl get kubesondes
NAME NAMESPACE PROBES COMPLETE AGE
shop-scan shop 56 true 2mStep 4 — Fetch the results
kubectl -n kubesonde-system \
  port-forward deployment.apps/kubesonde-controller-manager 2709 &
curl -s localhost:2709/probes > shop-probes.json
Each entry records a source, a destination, a port/protocol, and whether the connection succeeded. This is the raw material of the connectivity graph.
Step 5 — Visualize
Open the bundled UI, or upload shop-probes.json to the hosted site:
kubectl -n kubesonde-system port-forward service/kubesonde-frontend 8088:8088 &
kubectl -n kubesonde-system port-forward deployment.apps/kubesonde-controller-manager 2709:2709 &
# open http://localhost:8088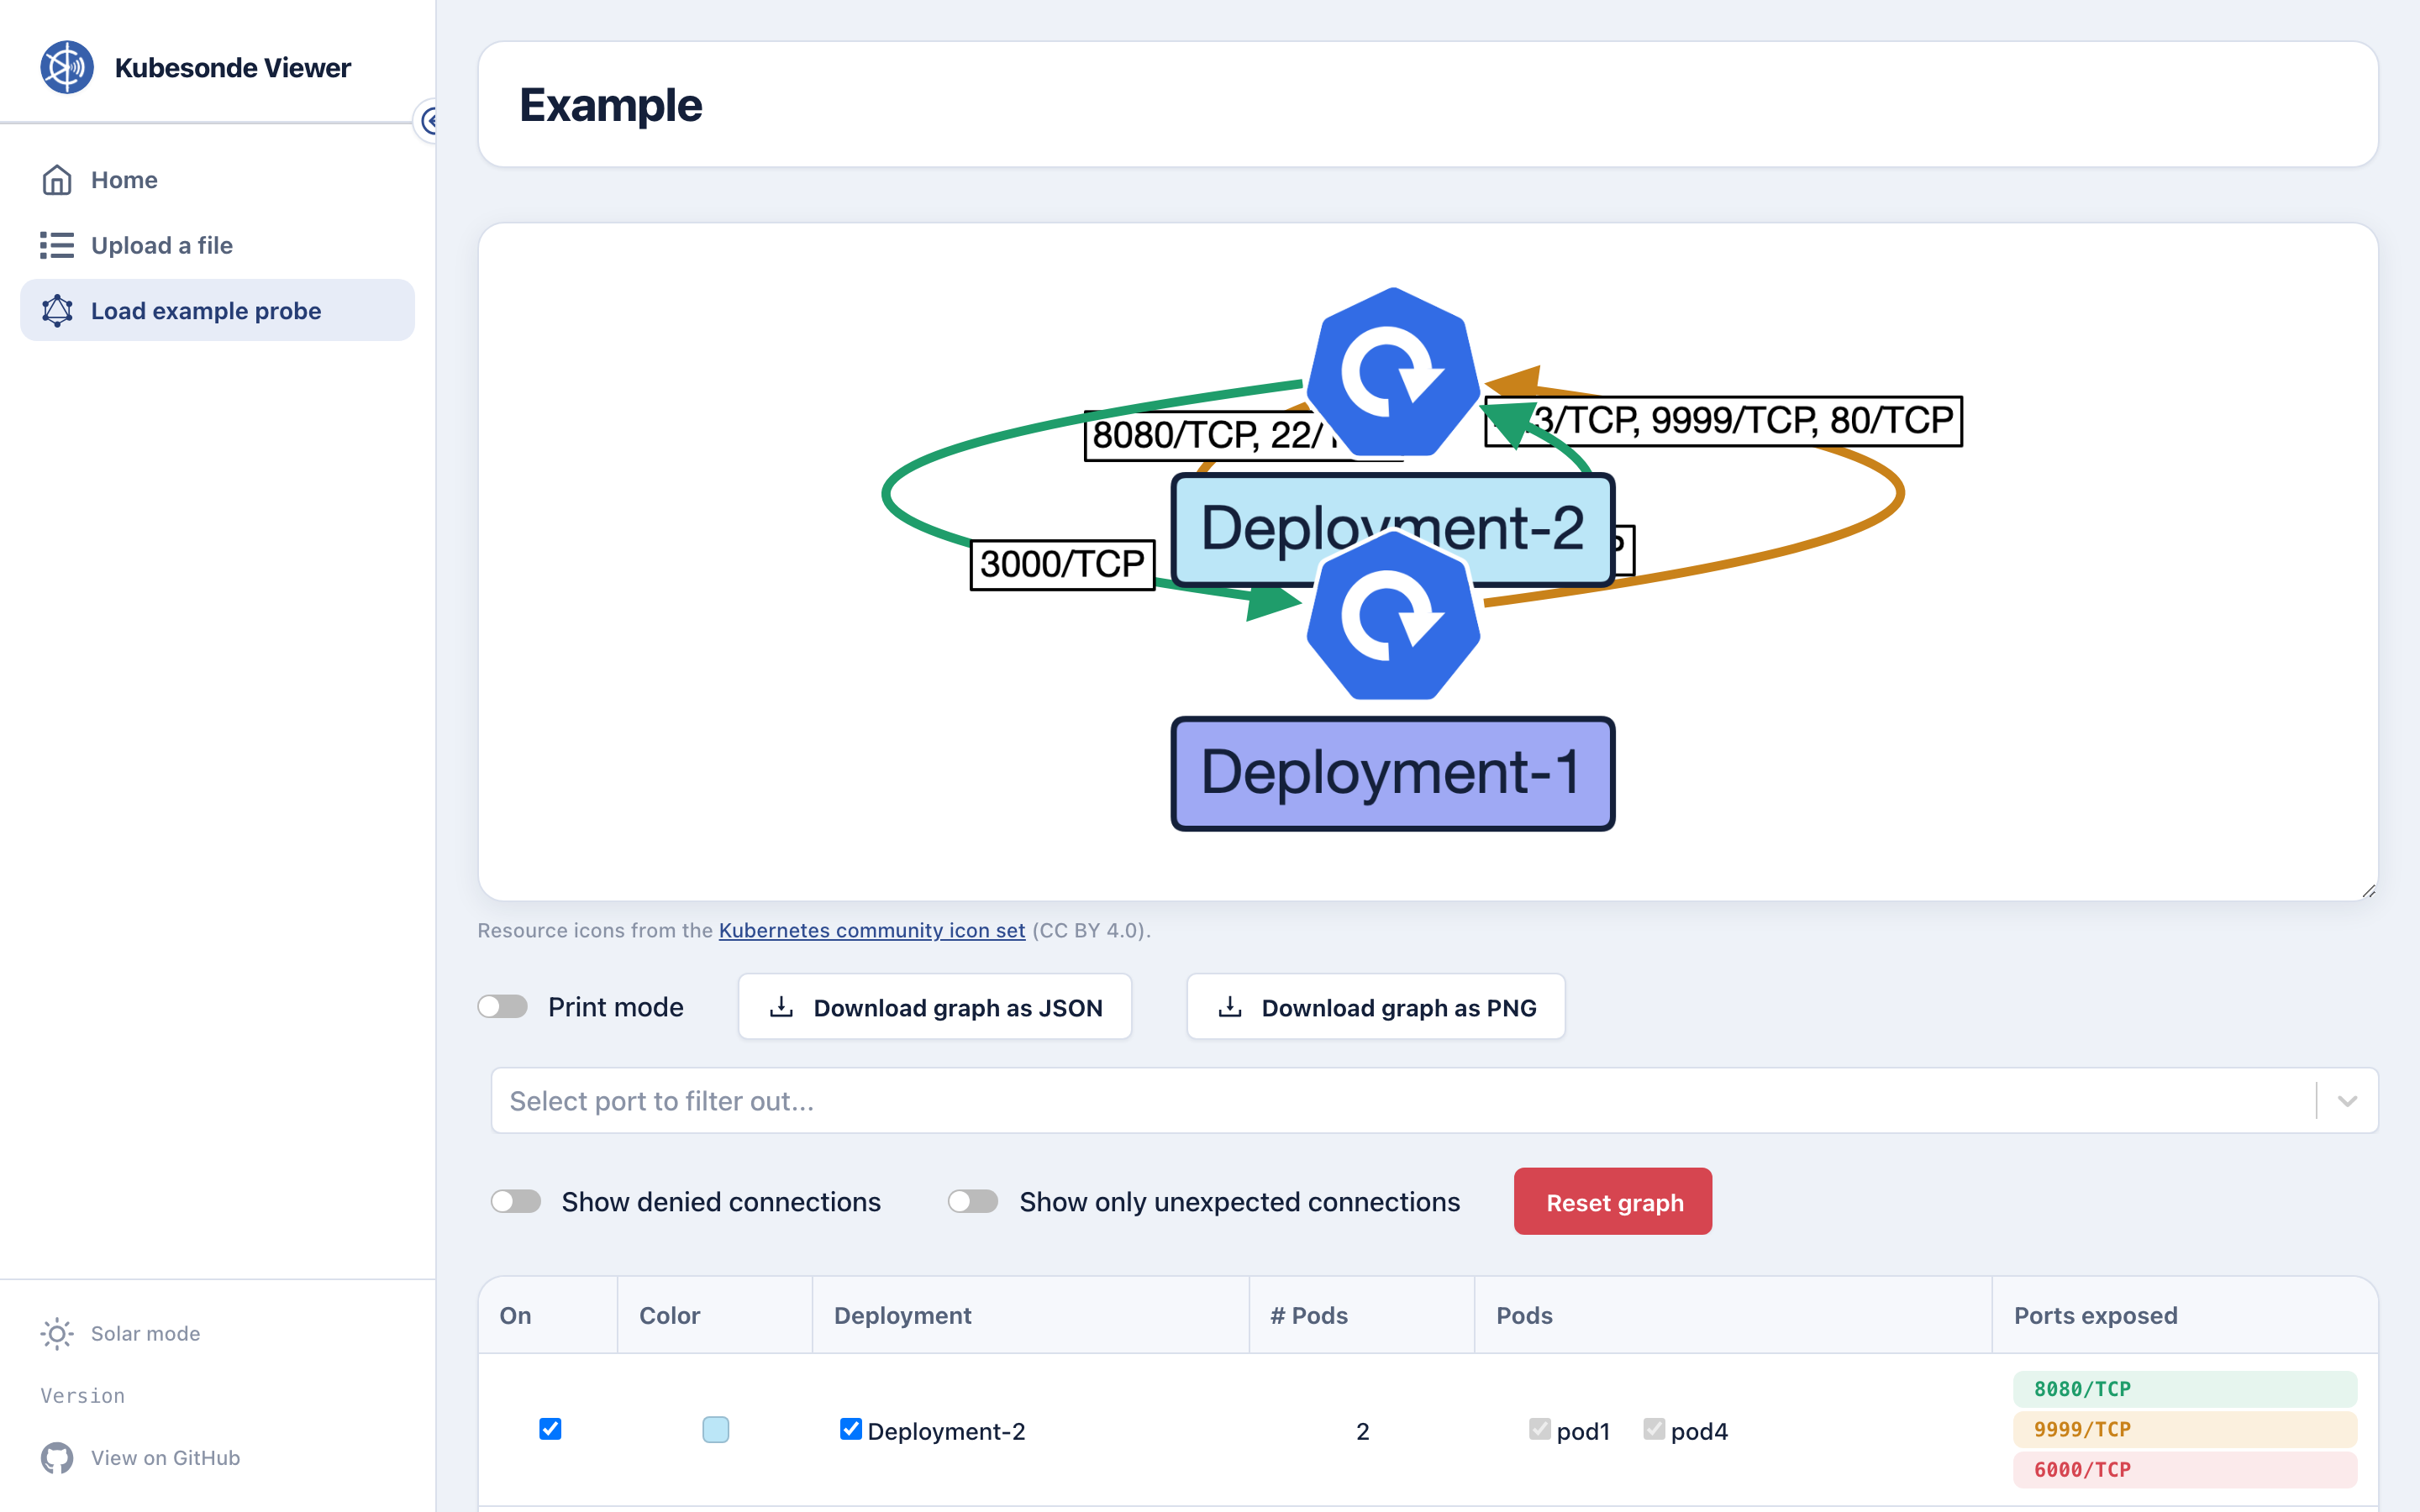
Look at the graph. With no NetworkPolicy in place, every pod can reach every other pod — including web → db. That is exactly the kind of unintended reachability Kubesonde is built to surface.
Step 6 — Clean up
kubectl delete -f shop-probe.yaml
kubectl delete namespace shop